top of page


These are a few articles and letters sent in by the members. If you have a story to share you can place it here for others to read.
Please send the story to the email shown here and in the subject line type: "Article for Website": dave@russianmotorcycles.co.uk

How Fast?

Pleneta Country

Urals M63

Notes on Handlebars

Living with K301 Carbs

The Great Sidecar Expedition:

Why Fixing Things is Good

Ural Engine Stripdown

On the Four Winds
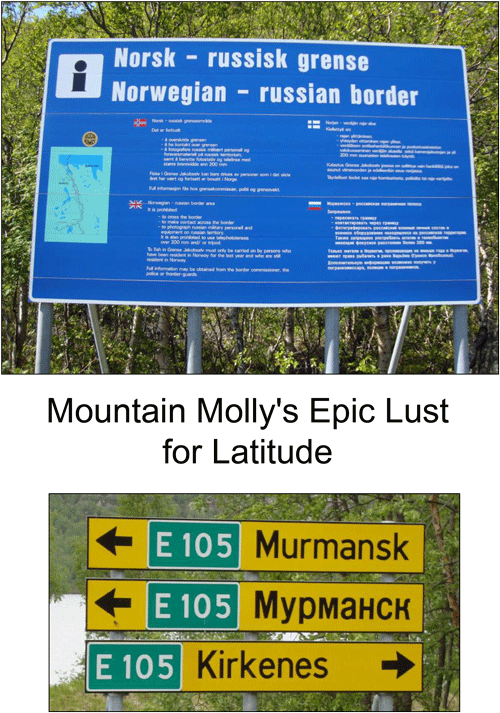
Molly Up North

ARTICLES
bottom of page